 Uper Weed
Rolling a joint is one of the most fundamental cannabis skills there is. It’s the first thing most smokers learn, and yet plenty of experienced consumers still can’t roll a clean one. If you’ve been buying pre-rolls or relying on a friend to roll for you, this guide walks you through how to roll a joint from scratch — what you need, how to do it step by step, and how to fix the common mistakes that ruin most beginners’ first attempts.
Once you learn to roll properly, you’ll never need to depend on pre-rolls again. And the flower you roll yourself — fresh from your grinder, packed exactly how you like it — will always taste better than something pre-rolled weeks ago and sitting in packaging.
What You Need to Roll a Joint
Before you start rolling, gather everything in one spot. Having your materials ready makes the process smoother and prevents the frustration of stopping mid-roll to look for something.
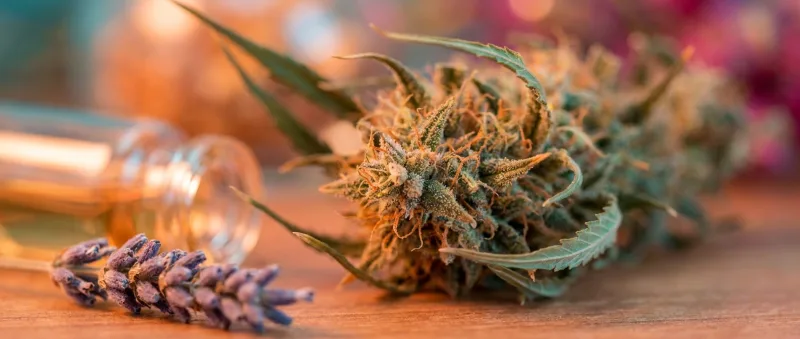
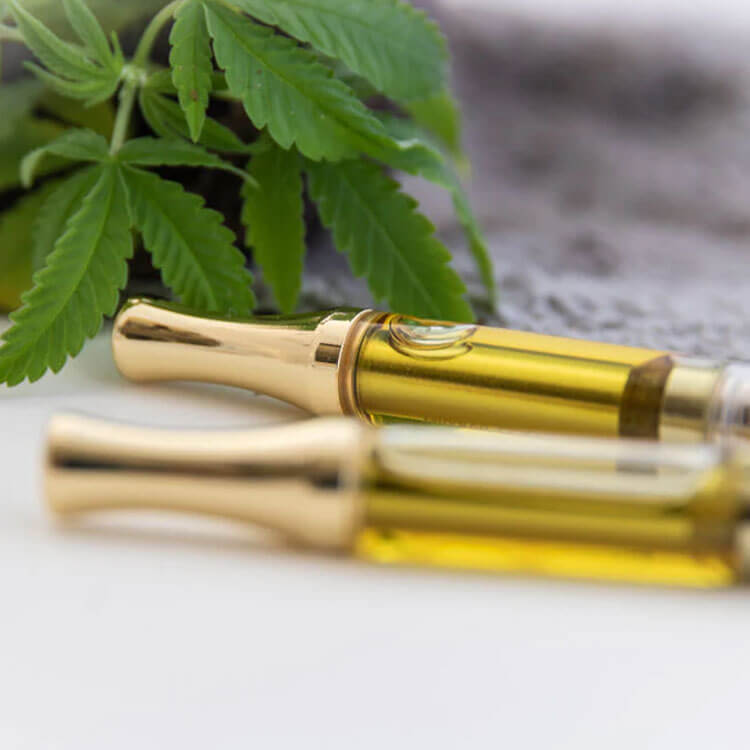
Cannabis flower. A half gram is enough for a standard joint. A full gram fills a king-size. Choose a strain you enjoy — Indica for relaxation, Sativa for energy, or Hybrid for balance. Quality flower from Uper Weed is properly dried and cured, which makes grinding and rolling significantly easier.
Grinder. A two-piece or four-piece metal grinder breaks your flower into the right consistency — fluffy and even, not powdery or chunky. Grinding by hand makes the joint harder to roll and produces an uneven burn.
Rolling papers. Start with 1¼ size papers if you’re a beginner — they’re the most forgiving size. RAW, Elements, and Zig-Zag are widely available and reliable. Hemp papers burn slowly and don’t affect flavour. Avoid ultra-thin papers until you’ve got your technique down — they tear too easily for beginners.
Filter tips (crutch material). Pre-cut filter tips are the easiest option. You can also use thin cardboard — the stiff flap from your rolling paper pack works perfectly. A filter gives your joint structure, keeps flower out of your mouth, and lets you smoke it down to the end without burning your fingers.
A flat surface. A rolling tray, a clean table, a hardcover book — anything flat and stable. Rolling in your lap or on a soft surface is significantly harder.
A poker or packing tool. A pen, chopstick, or the end of a small brush. Used to pack the open end of your finished joint for an even burn.
How to Roll a Joint — Step by Step
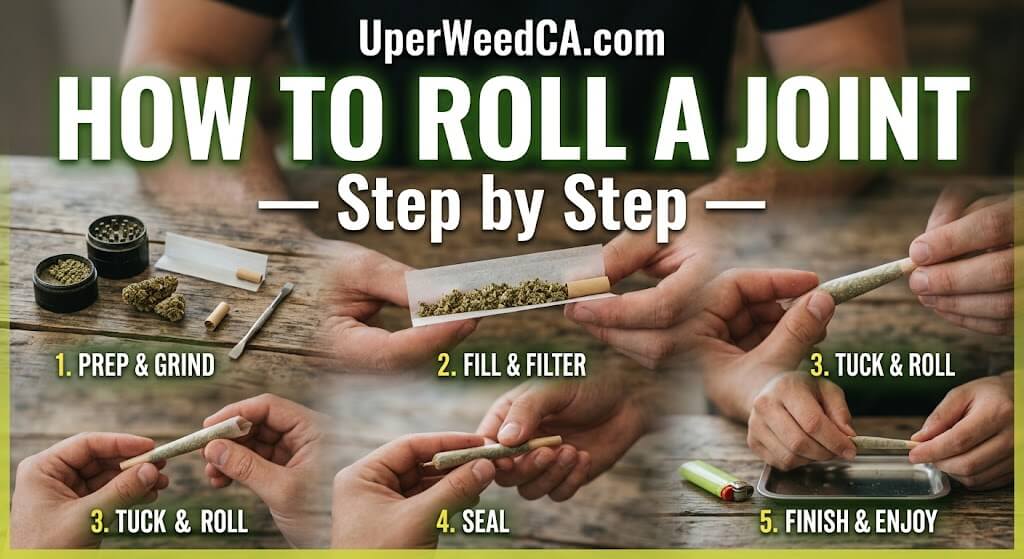
Step 1: Grind Your Flower
Break up your cannabis using a grinder until the consistency is fluffy and even — like coarse salt, not powder. Remove any stems or seeds before grinding. If you don’t have a grinder, use scissors over a shot glass or break flower apart carefully with your fingers.
The grind consistency matters. Too fine and the joint packs too tight, restricting airflow. Too coarse and it burns unevenly with hot spots. A medium, fluffy grind is the target.
Step 2: Make Your Filter
Take a filter tip or a small strip of thin cardboard (about 2 cm wide and 5–6 cm long). Make 3–4 small accordion folds at one end, then roll the remaining paper tightly around those folds to create a small cylinder. The diameter of your filter determines the diameter of your joint — most people aim for roughly the width of a pencil.
The filter should be firm enough to hold its shape but not so tight that you can’t draw air through it. Test it by putting it to your lips and inhaling — air should flow freely.
Step 3: Fill the Paper
Hold your rolling paper with the adhesive strip facing you, sticky side up, along the top edge. Place the filter at one end of the paper. Spread your ground flower evenly along the length of the paper, from the filter to the other end.
Use about 0.5g for a standard joint, 0.75–1g for a king-size. Distribute the flower as evenly as possible — lumps create uneven burning.
Step 4: Shape the Joint
This is the step most beginners rush through, and it’s the most important. Before you actually roll, use your thumbs and forefingers to gently pinch the paper and roll it back and forth, shaping the flower into an even cylinder. Spend 15–30 seconds doing this. You’re not sealing anything yet — you’re just forming the flower into the right shape inside the paper.
The goal is a cylinder that’s slightly thicker at the open end and slightly narrower at the filter end — a subtle cone shape. This is how most well-rolled joints naturally form.
Step 5: Tuck and Roll
This is the hardest part for beginners. Starting at the filter end, tuck the non-adhesive edge of the paper under the flower and behind it, using your thumbs to guide the paper into a tight tuck. Once the paper catches under the flower at the filter end, continue rolling upward toward the adhesive strip.
The key: get the tuck right at the filter first. Once that corner is tucked and tight, the rest of the joint follows. If you try to tuck the entire length at once, you’ll struggle. Start at the filter, get it tight, and roll from there.
Step 6: Seal It
Once you’ve rolled up to the adhesive strip, lick the glue lightly and press it down firmly. Start sealing from the filter end and work toward the tip. Hold for a moment to let the adhesive set. The seal should be continuous with no gaps or bubbles.
Step 7: Pack and Twist
Use a pen, chopstick, or packing tool to gently push the flower down from the open end. This ensures even density throughout the joint. Don’t pack too tight — you need airflow. Pack just enough that the flower feels firm when you gently squeeze the joint.
Twist the excess paper at the tip to close the end. Your joint is ready to smoke.
How to Light a Joint Properly
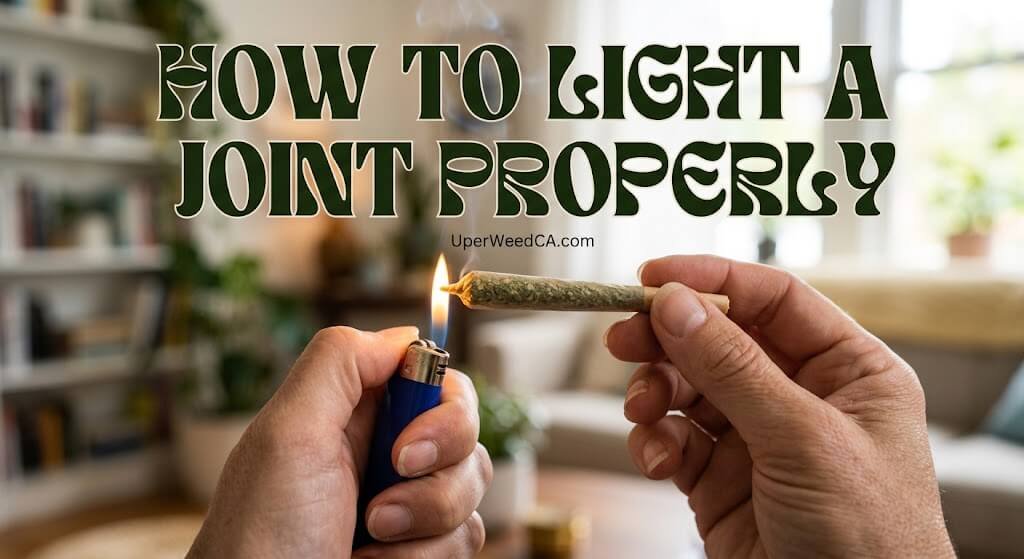
Lighting a joint the right way prevents canoeing (one side burning faster than the other) and ensures an even burn from the start.
Hold the twisted tip of the joint in the flame of your lighter and rotate it slowly — like you’re toasting the end, not torching it. Let the tip catch evenly around its entire circumference before taking your first draw. Once the tip is glowing evenly, take a slow, gentle pull. Don’t inhale like a vacuum — smooth and steady wins.
If the joint starts canoeing mid-session, lick your finger and wet the side that’s burning faster. This slows the burn and lets the other side catch up.
Common Joint Rolling Mistakes (And How to Fix Them)
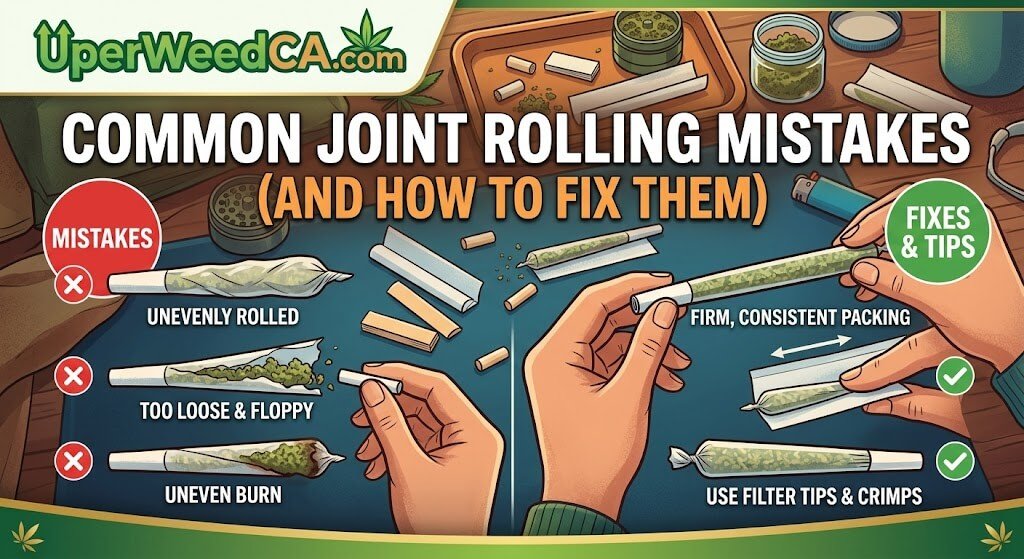
Mistake 1: Skipping the grinder. Breaking flower by hand produces uneven chunks that create hot spots and clog the joint. Always grind.
Mistake 2: Not shaping before rolling. Jumping straight from filling to tucking without spending time shaping the flower inside the paper. The shape step is where most of the magic happens.
Mistake 3: Packing too tight. An overpacked joint restricts airflow and is hard to draw. You’ll end up pulling hard with no smoke. Pack firmly but gently — the joint should feel solid, not rigid.
Mistake 4: Packing too loose. A loose joint burns fast, unevenly, and falls apart. The flower should hold its shape when you gently squeeze the joint.
Mistake 5: No filter. Rolling without a filter makes the mouthpiece floppy, lets flower into your mouth, and wastes the last third of the joint because it’s too hot to hold. Always use a filter.
Mistake 6: Using papers that are too thin. Ultra-thin papers are great for experienced rollers but tear easily for beginners. Start with standard thickness hemp papers and graduate to thins once your technique is solid.
Mistake 7: Torching the tip when lighting. Holding the lighter flame directly on the tip creates an uneven burn. Toast the end slowly by rotating the joint at the edge of the flame.
Joint Sizes — How Much Weed to Use
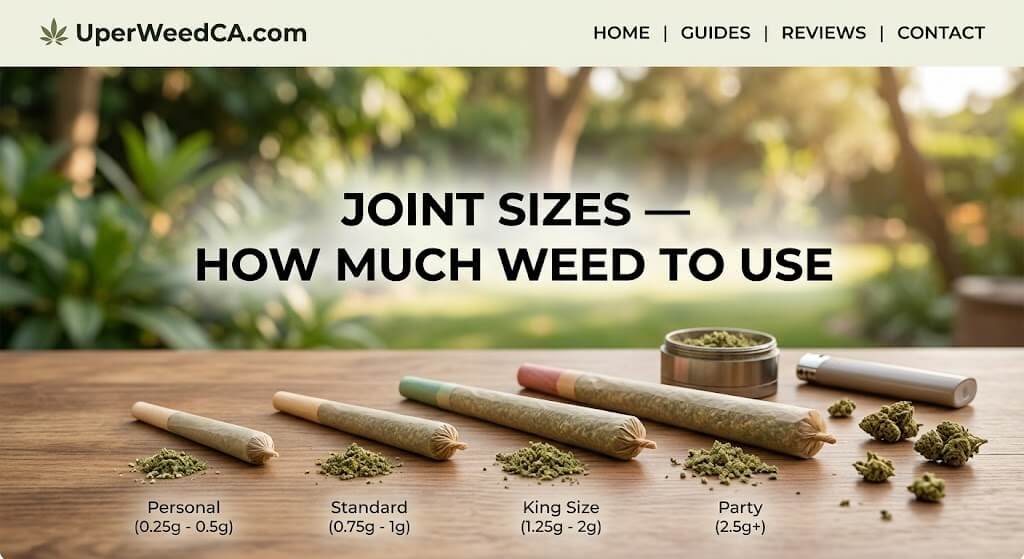
Pinner (0.25–0.3g): A slim, personal joint for a quick solo session or trying a new strain. Uses a single-wide paper.
Standard (0.5g): The everyday joint. Enough for one person or a short session with a friend. Uses 1¼ size paper. This is the best size for beginners learning to roll.
King-size (0.75–1g): A larger joint for a longer session or sharing. Uses king-size papers. Requires slightly more skill to roll evenly.
Cone (1–2g): A joint that’s wide at the tip and narrows to the filter. Naturally forms when you pack more flower toward the open end. Cones burn slowly and look impressive. Pre-made cone papers make this easier if you haven’t mastered the technique yet.
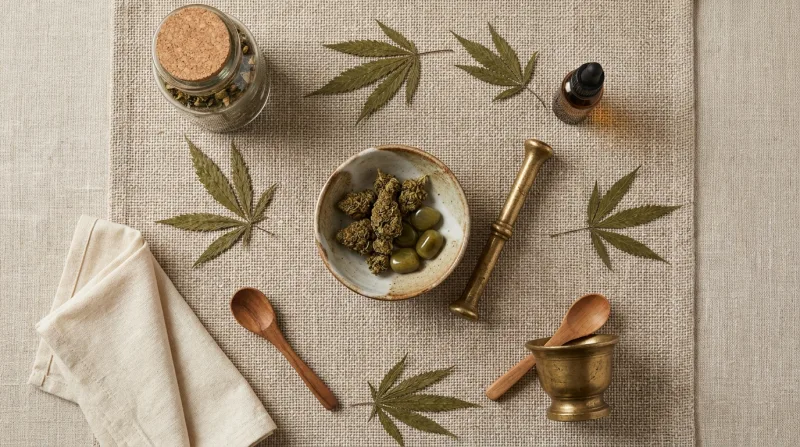
If joints aren’t your thing, you can also smoke flower through a bong or pipe — or skip combustion entirely with edibles and THC gummies. And if you want to add potency to your joint, try crumbling a bit of hash into your ground flower before rolling — the hash melts as the joint burns and adds a rich, resinous flavour.
Best Flower for Rolling Joints
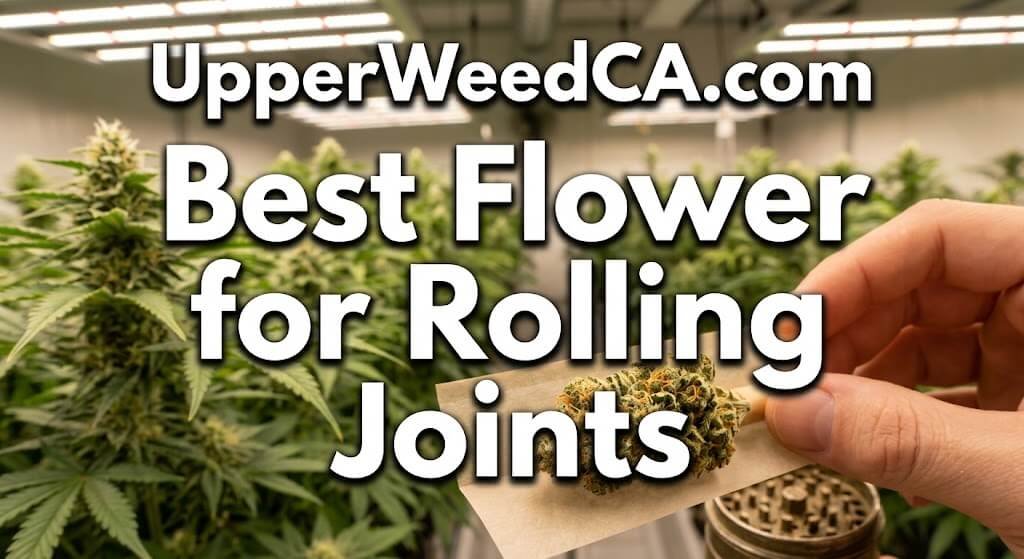
The best joints start with properly dried, well-cured cannabis flower. Flower that’s too moist sticks together and doesn’t grind evenly. Flower that’s too dry crumbles to dust and burns too fast.
Quality craft flower from Uper Weed is cured for optimal moisture content — it grinds fluffy, rolls clean, and burns smooth. A few strains that roll and smoke especially well:
Blue Dream — smooth, medium density, even burn. A perfect rolling strain. Read more in our best strains for Ottawa spring 2026.
Wedding Cake — dense buds that grind into sticky, aromatic flower. Produces a slow-burning, flavourful joint.
Pink Kush — classic Indica with a floral vanilla flavour that shines in a joint. One of Ottawa’s most-ordered strains.
Browse all flower at uperweedca.com — available for same-day weed delivery across Ottawa and Gatineau.
Joints vs. Other Smoking Methods
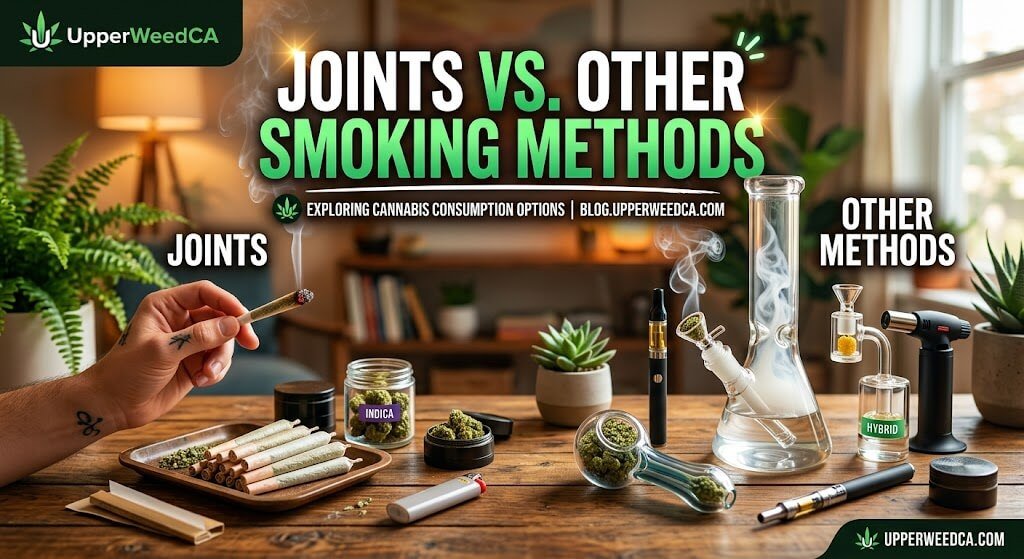
Joints vs. pre-rolls: Pre-rolls are convenient but are often rolled with machine-ground, lower-quality flower or trim. A joint you roll yourself uses fresh, whole-bud flower that you chose and ground minutes ago. The taste and quality difference is noticeable.
Joints vs. bongs: Bongs deliver larger, water-filtered hits. Joints deliver smaller, more flavourful hits. Joints are portable and social. Bongs require equipment and a home base. Many consumers use both — bongs at home, joints on the go.
Joints vs. pipes: Similar hit size, but joints burn continuously while pipes require repeated lighting. Joints are self-contained — nothing to carry except the joint itself.
Joints vs. concentrates: Concentrates like shatter and hash are far more potent per hit. Joints offer a milder, more gradual experience that’s better suited to casual sessions and socializing.
Frequently Asked Questions
How do you roll a joint for beginners?
Grind your flower to a fluffy consistency, make a filter from thin cardboard, fill your rolling paper evenly, shape the flower into a cylinder by rolling back and forth between your fingers, tuck the non-adhesive edge under the flower starting at the filter end, roll upward, lick and seal, then pack the open end gently. Use 1¼ size papers and 0.5g of flower to start.
How much weed goes in a joint?
A standard joint uses about 0.5g. A pinner uses 0.25–0.3g. A king-size joint uses 0.75–1g. Start with 0.5g on a 1¼ size paper — it’s the easiest size to roll and the right amount for one or two people.
What are the best rolling papers for beginners?
1¼ size hemp papers. RAW Organic Hemp, Elements Rice, and Zig-Zag are all solid beginner choices. Standard thickness — avoid ultra-thins until your technique is consistent.
Why does my joint keep canoeing?
Uneven flower distribution, inconsistent packing, or improper lighting. Distribute flower evenly when filling, spend more time on the shaping step, and toast the tip by rotating the joint in the flame rather than torching one side.
Can I get rolling supplies and flower delivered in Ottawa?
Yes. Uper Weed delivers premium flower for rolling — properly dried and cured for clean grinding and smooth burning — across Ottawa and Gatineau same-day. Call/text 613-614-9596 or order at uperweedca.com.
Get Premium Rolling Flower Delivered — Same-Day Ottawa

The best joints start with the best flower. Uper Weed carries hundreds of strains graded AA to AAAAA+ — all properly cured for rolling. Same-day delivery across Ottawa and Gatineau. Free on orders over $100. $5 off your first order.
Visit uperweedca.com or call/text 613-614-9596.